So, you want to take beautiful product photos without breaking the bank? If so, you’re in luck with today’s episode! Elisabeth and Cami are sharing their best DIY product photography tips. Listen in as they chat about everything from how to get the perfect lighting to where they find their favorite budget-friendly styling mats and props.
Let’s be friends! Find us on Instagram http://instagram.com/bizbirthdaybash @bizbirthdaybash. For all show notes please visit http://www.bizbirthdaybash.com/podcast
Grab your FREE Training — 4 Essentials You Need to Turn Your Biz into a Profit Party: https://bizbirthdaybash.com/free-training
Our DIY Product Photography Tips
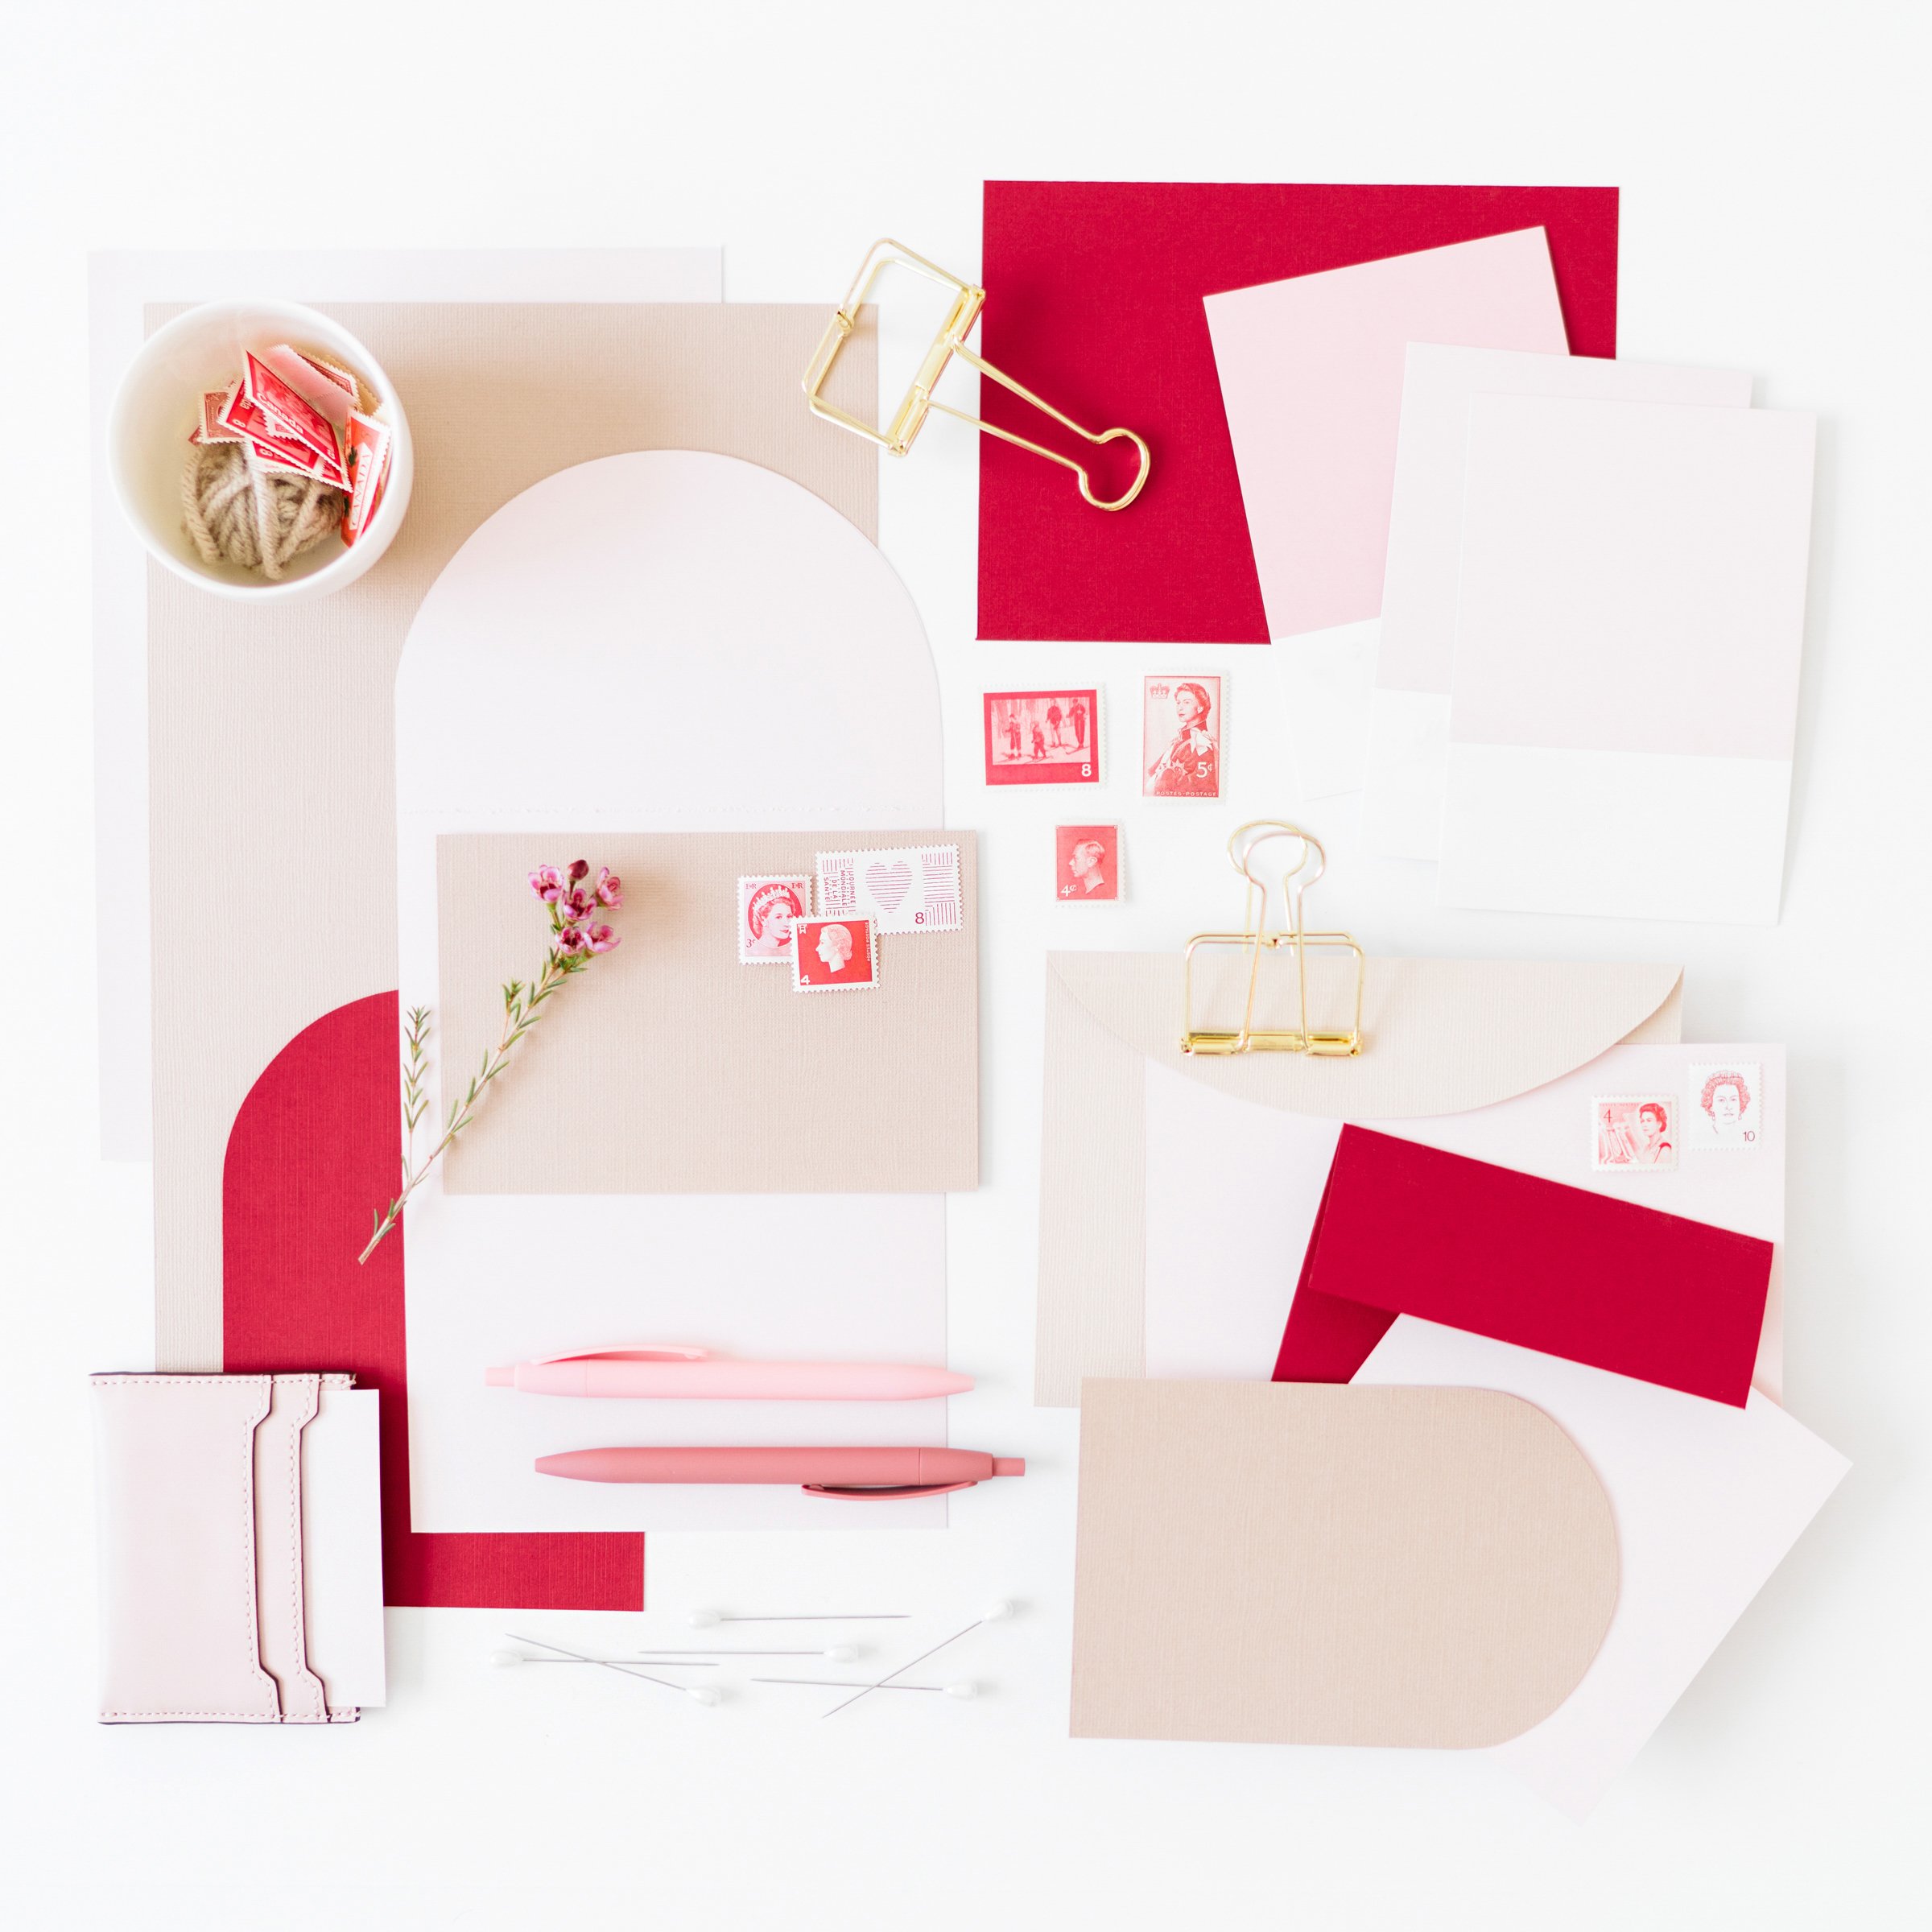
Get some styling mats and styling props to use.
Find what fits best for your brand and make sure the props are relatively neutral from a holiday perspective unless it is a holiday-specific product.
Elisabeth 15:18
If you do include props, I would try to keep them relatively neutral from a holiday perspective, unless it’s a holiday-specific product. So, I wouldn’t want to photograph, like even though I might sell a floral tea towel as a Christmas gift, I wouldn’t want to put in like holiday props with that because would make sense too.
Cami 15:55
So think about how your props can elevate the product instead of taking away from them. So you want it to be. Maybe make it more of a feeling and not so much of a, which, which thing is the product. Like you don’t want people to try and figure out what thing the product is. So it’s more just like an example of how you can use the products.
That’s what you’re trying to convey. Not so much, like I’m going to make it look Christmasy, but just throwing out a bunch of random stuff. Cause sometimes I feel like we get stuck. Like I had to have Christmas products for Christmas, our Christmas props, but it doesn’t necessarily have to be the case.
Like I have done very clean stuff for a long time and it’s worked just fine, but also having those like really nice style photos is great.
But yes, don’t be like, you have to get hung up on props because I always felt like I had to get hung up on prompts. And I mean Photoshop and so many other things are literally your best friend because if you can’t do a DIY photo, you can do a mock-up, which we just talked about, but we’re staying on the, we’re staying on the photography train here.
Find a room with natural lighting when possible. Taking photos near a window really works best!
Cami 6:10
The background doesn’t matter as much as the lighting, which is something we can definitely talk about is like, yes.
Where you take your photo. It’s going to make the biggest difference, like lighting-wise. Like I think some people think, oh, I need to turn on like every single light in my room right now to have good lighting, but like really you should probably turn all those lights off and just use natural light. Like anytime you take product photos, I turn off any lights like in my office or in my studio or whatever, and just use natural light.
Because even if it’s a little bit dark, I can brighten it up. But if there’s like glare or weird shadows or a weird color coming through from the other lights, that’s going to be much harder to edit out.
Elisabeth 6:52
Yeah, exactly. Because what people don’t realize is that every light bulb has some sort of tint. For the most part, it might be a cooler tinted light bulb. It might be a warmer tinted light bulb, which is why just finding a window is going to be your best choice.
Use the right photo editing tools (Lightroom on iPhone is great)
Elisabeth 22:59
The real magic happens in post-production and there are so many different apps and things that you can use. That I really like using, honestly, sometimes I just edit within photos app on my phone. And then I also like using Lightroom on the iPhone or like the Lightroom app too. I’ve definitely done things in there before.
Cami 23:40
Yeah. Lightroom is like my go-to, I freaking love it. I use it on my iPhone and then I airdrop it to myself on my Mac, and then do some Photoshopping.
Okay. So it was kind of goes through like two rounds of production, but the bulk of it is done in like Lightroom on my phone, which I just, once I edit one photo, then I could just copy that, those settings and to the next photo beause I have presets set up, but sometimes I still like tweak them a little bit.
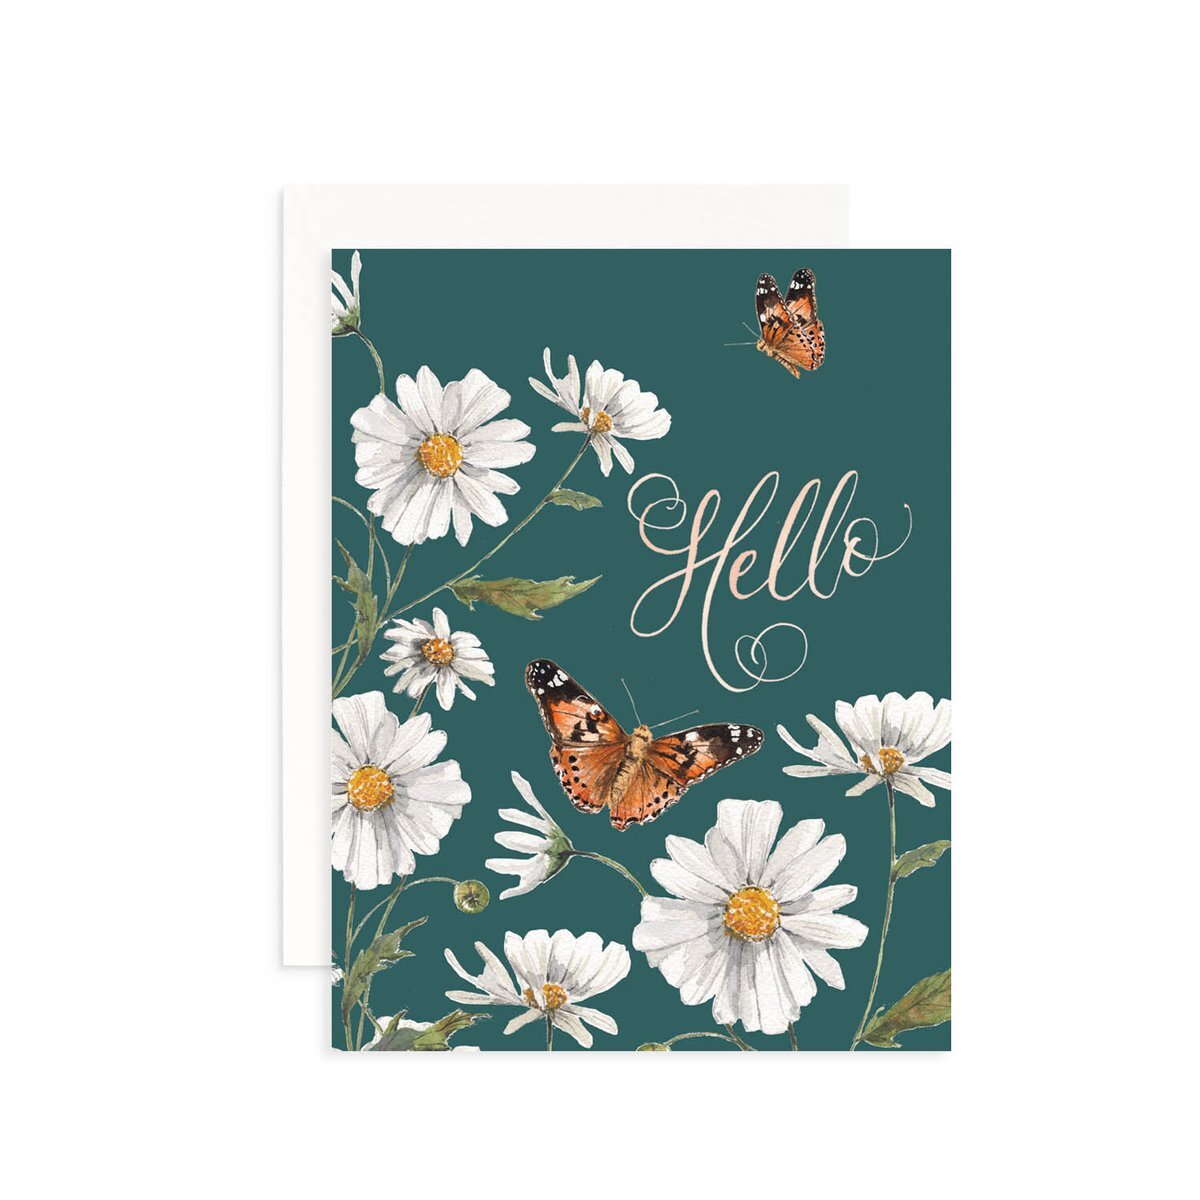
Pro tip: you can style a blank greeting card and photoshop in all your different designs to have a consistent product photo collection
Elisabeth 20:48
If you are doing a lot of the same product over and over like greeting cards, or maybe you have like a ton of notepads throw the same size, you can shoot a blank and then edit in the other stuff later. Once you have your like base, you know, base photo.
And I know that Cami did this for Christmas cards one year, right?
Cami 21:09
Yeah, I’ve done it like every year for Christmas cards. All my, everything I shoot is blank. Pretty much. Sometimes the cups. I did a couple of things where I’ve just like photo-shopped in the artwork. So just makes it more versatile as well, because you can kind of reuse that photo over and over again.
Elisabeth 21:27
Yeah. So don’t be afraid to make your own stock photos essentially for products that you have.
+ show Comments
- Hide Comments
add a comment